このページは部分的に翻訳されています。一部原文の内容が含まれています。
高度なスタイリング
このチュートリアルの前の2つの章では、Typstで文書を書く方法とその書式を変更する方法を学びました。 それらの章を通して書いたレポートが優れた評価を得たため、指導教員はそれをもとに学会論文を書いてほしいと考えています! もちろん、論文は学会のスタイルガイドに従わなければなりません。 どうすればそれを達成できるか見てみましょう。
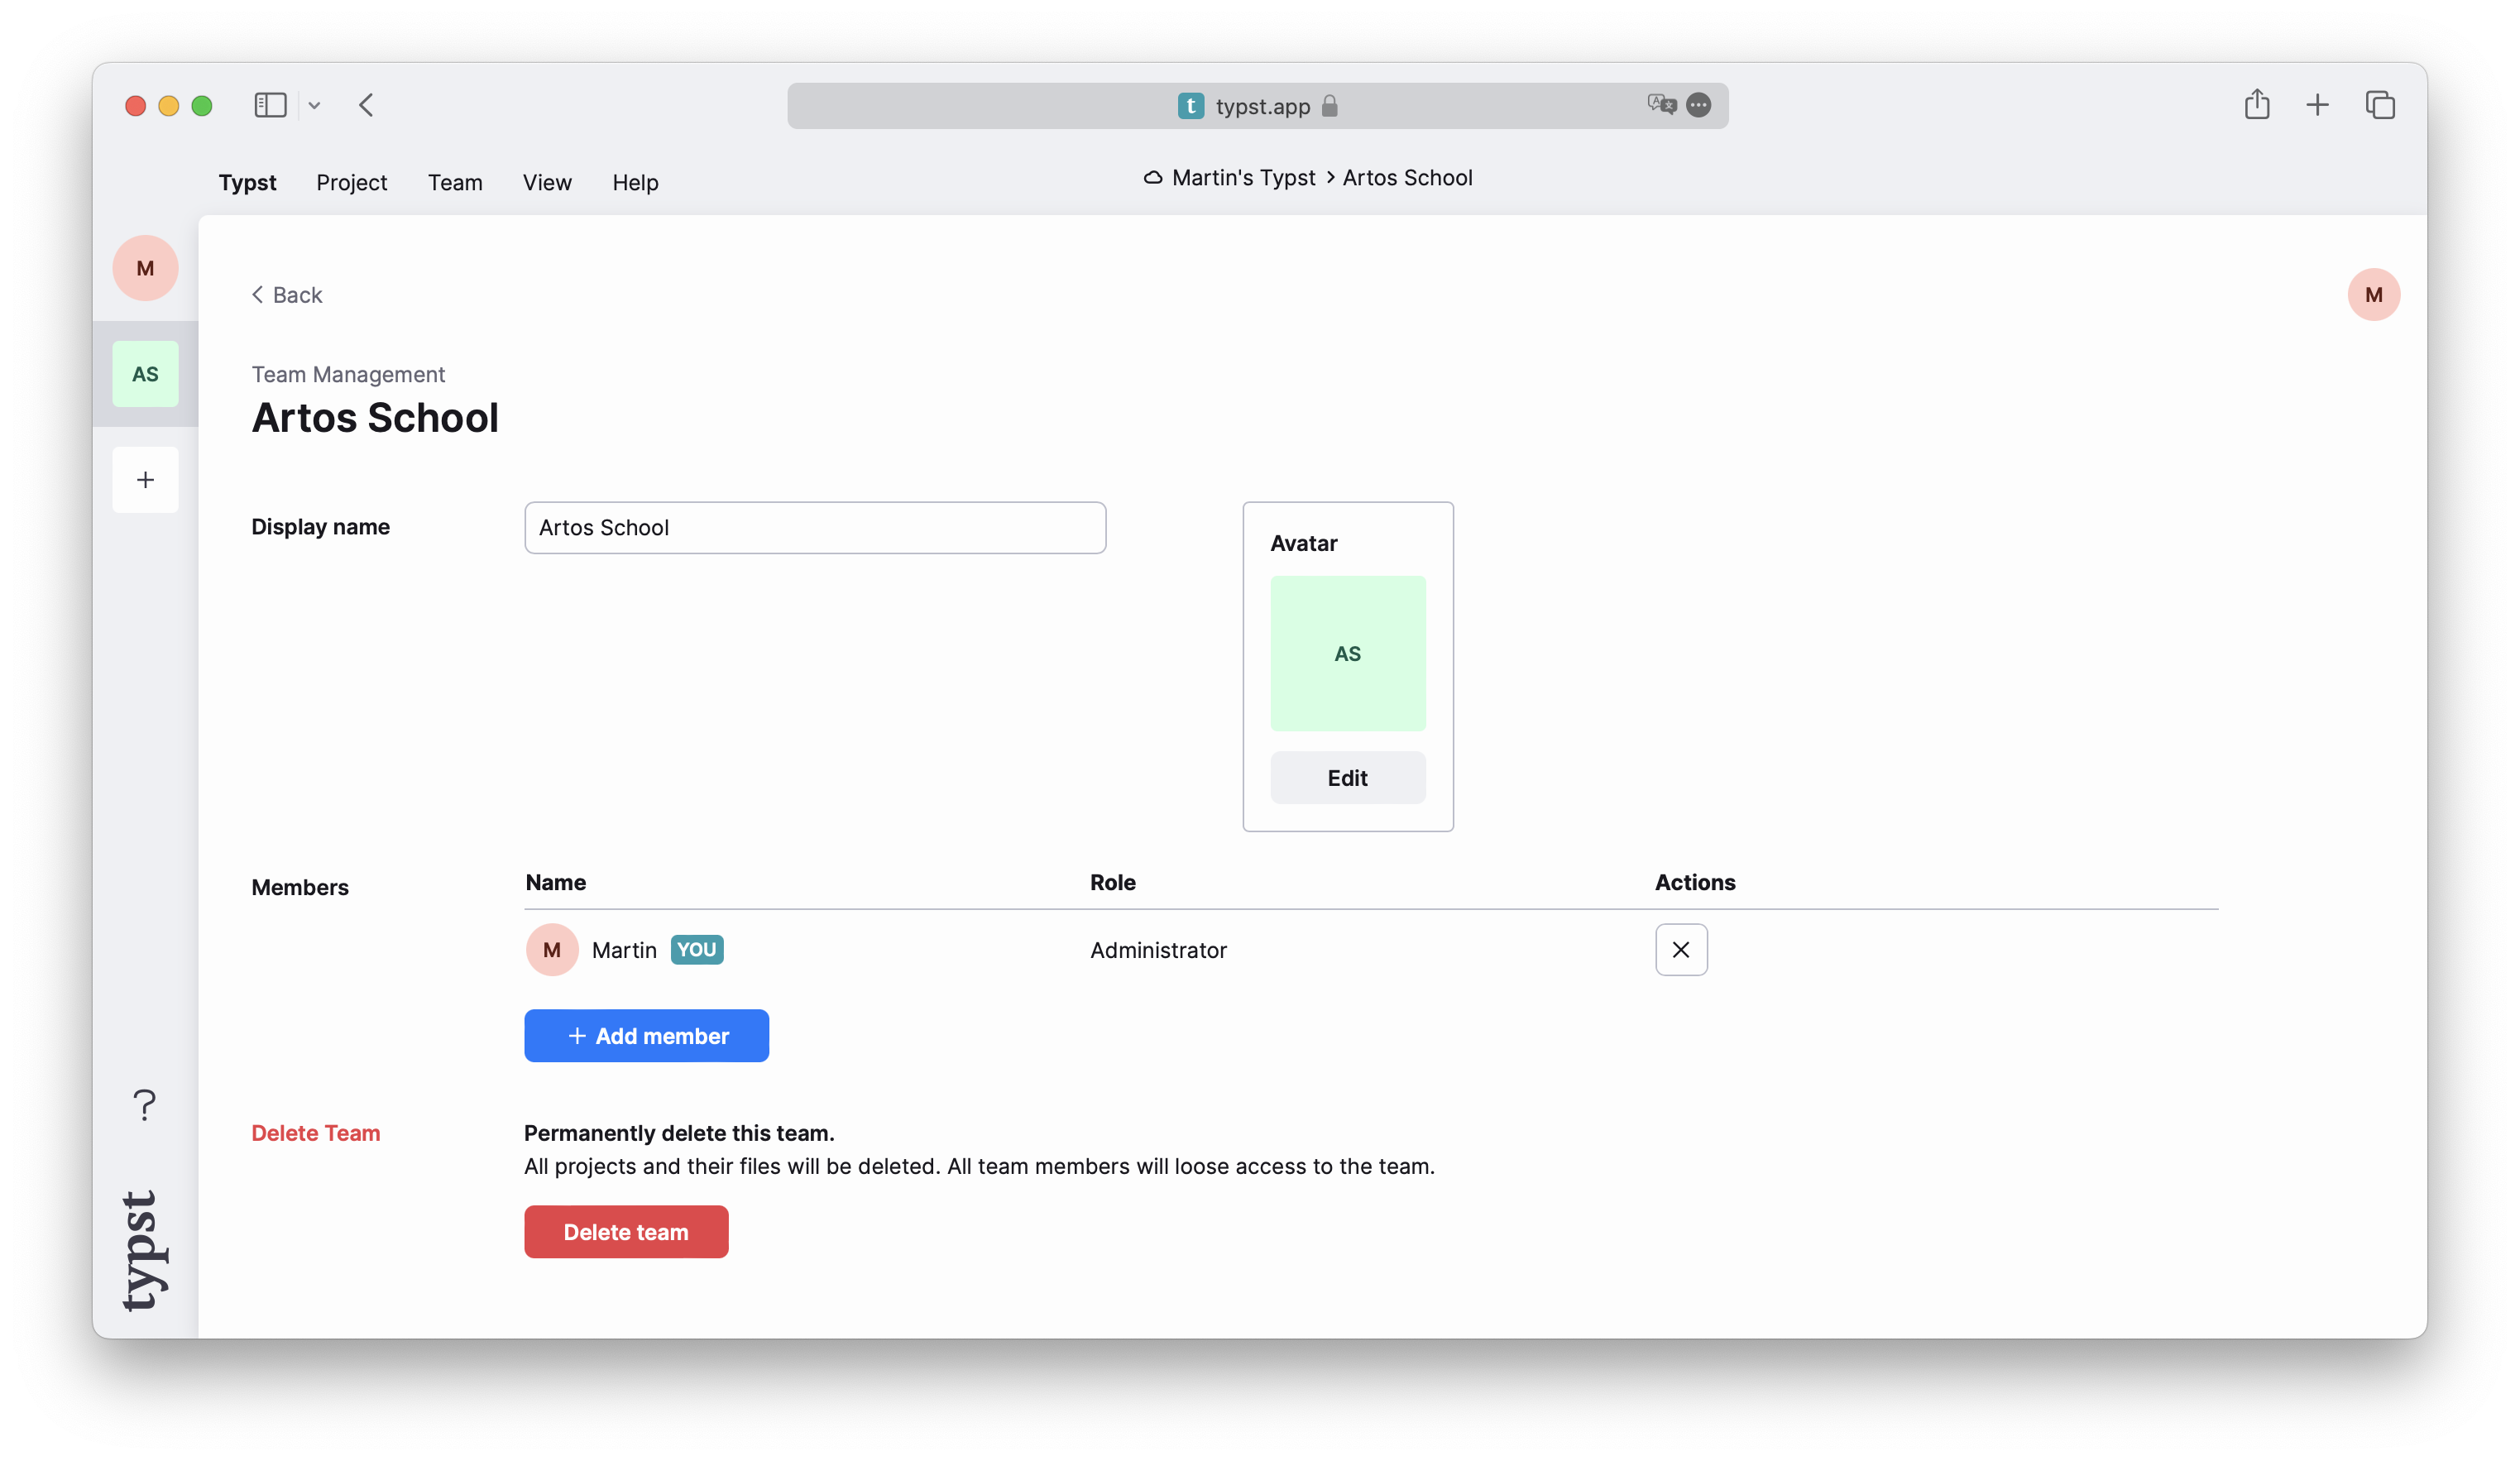
始める前に、チームを作成して、そのチームに教員を招待して追加しましょう。 まず、エディターの左上にある戻るアイコンでアプリのダッシュボードに戻ります。 次に、左のツールバーのプラスアイコンを選択し、チームを作成します。 最後に、新しいチームをクリックし、チーム名の横にあるmanage teamをクリックして設定に進みます。 これで教員をメールで招待することができます。
次に、プロジェクトをチームに移動します。 プロジェクトを開き、左のツールバーの歯車アイコンを選んで設定に行き、Ownerのドロップダウンから新しいチームを選択します。 変更を保存するのを忘れないでください!
あなたの教員もプロジェクトを編集することができ、お互いにリアルタイムで変更を確認できます。 公式のDiscordサーバーに参加して他のユーザーを見つけ、一緒にチームを組んでみることも可能です!
学会ガイドライン
レイアウトのガイドラインは学会ウェブサイトに掲載されております。 ここでは以下の条件であった場合を考えましょう。
- フォントは11ptのセリフ体
- タイトルは17ptで太字
- アブストラクトは1段組みで本文は2段組み
- アブストラクトは中央揃え
- 本文は両端揃え
- 第1レベルのセクションの見出しは13ptで中央に配置し、小さな大文字で表示
- 第2レベルの見出しは斜体で、本文と同じ大きさ
- ページはUSレターサイズとし、下中央にページ番号を付け、各ページの右上に論文のタイトルを記載
これらのうち、多くの項目については既に対応方法を知っていますが、いくつかについては新しい記法を学ぶ必要があります。
setルール
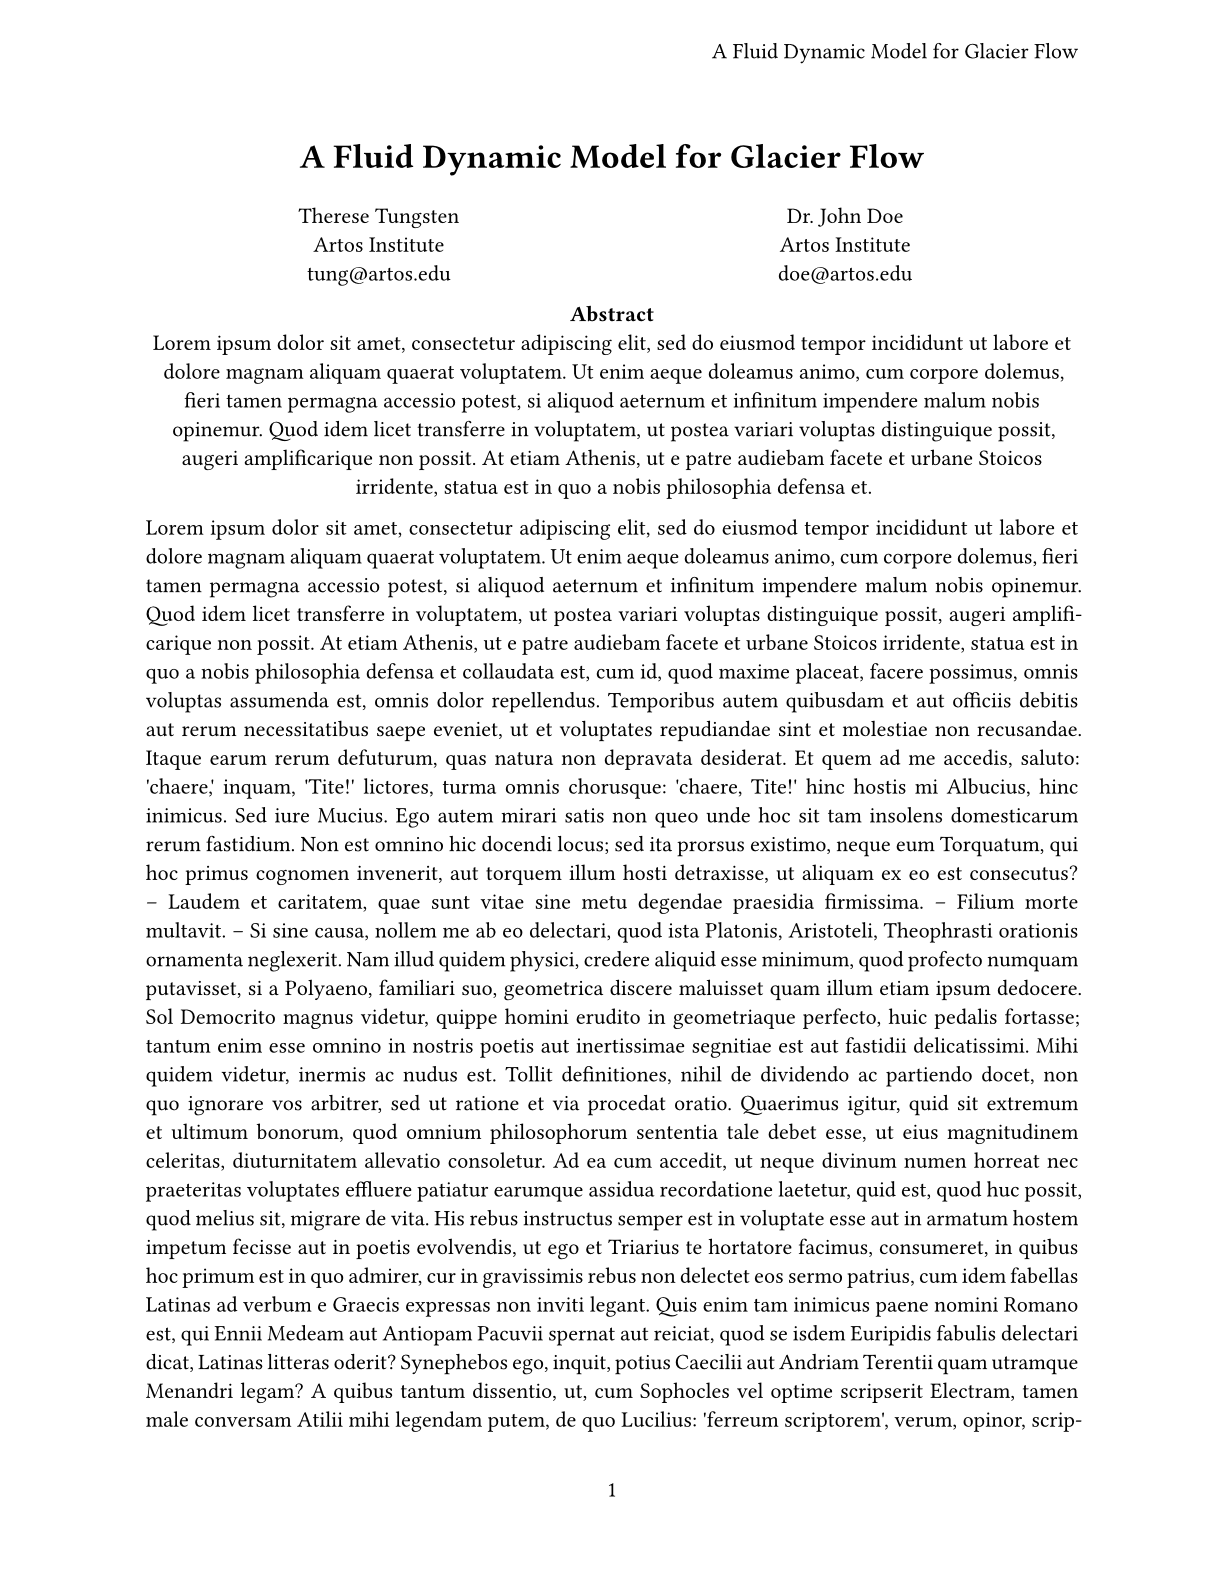
まず、文書のsetルールを書くことから始めましょう。
#set page(
  paper: "us-letter",
  header: align(right)[
    A Fluid Dynamic Model for
    Glacier Flow
  ],
  numbering: "1",
)
#set par(justify: true)
#set text(
  font: "Libertinus Serif",
  size: 11pt,
)

#lorem(600)
ここで行われていることの大半は、すでに分かりでしょう。
テキストサイズを11ptに、フォントをLibertinus Serifに設定しています。
また、段落の両端揃えを有効にし、ページサイズをUSレターとしています。
ここで、headerは新しい引数で、各ページの上部の余白に置くコンテンツを設定できます。
ヘッダーには、学会のスタイルガイドで要求されているように、論文のタイトルを指定します。
align関数を用いてそのテキストを右寄せにします。
最後に numbering 引数について説明します。
ここでは、ページ番号の付け方を定義するnumbering patternを指定できます。
例えば"1"と設定すると、Typstは素のページ番号のみを表示します。
また"(1/1)"と設定すると、カッコで囲まれた現在のページと総ページ数が表示されるでしょう。
さらに、カスタム関数を用意して完全に好みの書式にすることも可能です。
タイトルとアブストラクトの作成
それでは、タイトルとアブストラクトを追加しましょう。
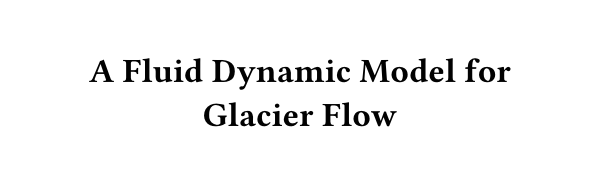
Typst comes with a title function. Let's start by providing our title as an argument:
#title[
  A Fluid Dynamic Model
  for Glacier Flow
]

You can see that the title is already boldfaced and has some space around it.
However, it is left-aligned and not exactly 17pt large. Hence, we need to adjust
its appearance. The title function does not come with any arguments for
font or text size we could set. Instead, these properties are defined on the
text and align functions.
What is the difference between what the title function inserted and the
headings we produced with equals signs?
Headings, even first-level headings, can appear multiple times in your document whereas a title only appears once, usually at the beginning. Differentiating between the two helps Typst make your document accessible for users of Assistive Technology such as screen readers.
When we want to customize the properties of some element inside of another kind
of element, we can use show-set rules. First, we use show to select which
element we want to customize. We call this a selector. Then, we type a colon.
Next, we write the set rule that should apply to elements matching the selector.
Summarized, the syntax looks like this:
#show your-selector: set some-element(/* ... */)
Let's recall: We want to center-align the title and make it 17pt large. Hence, we need two show-set rules:
- One with the selector
titleand the ruleset text(size: 17pt) - One with the selector
titleand the ruleset align(center)
Our example now looks like this:
#show title: set text(size: 17pt)
#show title: set align(center)

#title[
  A Fluid Dynamic Model
  for Glacier Flow
]
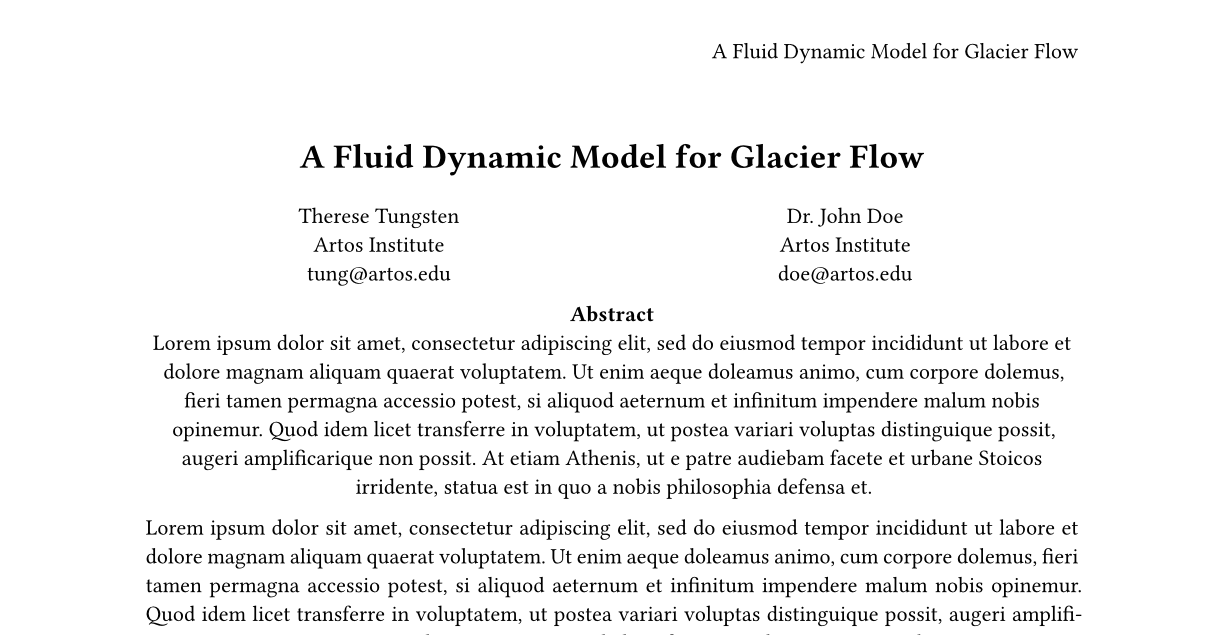
This looks right. Let's also add the author list: Since we are writing this paper together with our supervisor, we'll add our own and their name.
#grid(
  columns: (1fr, 1fr),
  align(center)[
    Therese Tungsten \
    Artos Institute \
    #link("mailto:tung@artos.edu")
  ],
  align(center)[
    Dr. John Doe \
    Artos Institute \
    #link("mailto:doe@artos.edu")
  ]
)

著者情報が記載された2つのブロックが隣り合わせにレイアウトされています。
このレイアウトを作るためにgrid関数を使っています。
これにより、各列の大きさや、どのコンテンツをどのセルに入れるかを正確に制御することができます。
columns引数には、相対長さまたは割合の配列を渡します。
この場合、2つの等しい割合のサイズを渡し、使用可能なスペースを2つの等しい列に分割するように指示します。
次に、grid関数に2つのコンテンツ引数を渡しました。
ひとつは主著者であるあなたの情報で、もうひとつは指導教員の情報です。
ここでも align 関数を使用して、コンテンツを列の中央に配置しています。
grid関数はセルを指定するコンテンツ引数を任意の数で受け取れます。
行は自動的に追加されますが、rows引数で手動でサイズを指定することも可能です。
Looking at the authors and the title, they are a bit too close together. You can
address this by using another show-set rule to configure the space below the
title. The title, the grid, paragraphs, and all other elements that Typst
arranges from the top to the bottom of the page are called blocks. Each block
is controlled by the block function. It controls behaviors like their
distance and whether a block can contain a page break. That means that we can
write another show-set rule that selects the title to set the block spacing:
#show title: set text(size: 17pt)
#show title: set align(center)
#show title: set block(below: 1.2em)

#title[
  A Fluid Dynamic Model
  for Glacier Flow
]

#grid(
  // ...
)

With this show-set rule, we overrode the spacing below the title. We have used
the em unit: It allows us to express lengths as multiples of the font size.
Here, we used it to space the title and the author list exactly 1.2× the font
size apart.
それでは、アブストラクトを追加しましょう。 学会は、アブストラクトを中央に配置することを望んでいることを忘れないでください。 Now, let's add the abstract. Remember that the conference wants the abstract to be set ragged and centered.
...

#align(center)[
  #set par(justify: false)
  *Abstract* \
  #lorem(80)
]
できました!特筆すべき点は、alignのコンテンツ引数の中にあるsetルールを使って、アブストラクトの両端揃えをオフにしたことです。
これは、最初のsetルールの後に指定されたにもかかわらず、文書の残りの部分には影響しません。
コンテンツ・ブロック内で設定されたものは、そのブロック内のコンテンツにのみ影響します。
Another tweak could be to remove the duplication between the header and the
title element's argument. Since they share the title, it would be convenient to
store it in a place designed to hold metadata about the document. We would then
need a way to retrieve the title in both places. The document element can help
us with the former: By using it in a set rule, we can store document metadata
like title, description, and keywords.
#set document(title: [A Fluid Dynamic Model for Glacier Flow])
When exporting a PDF, the title set here will appear in the title bar of your PDF reader. Your operating system will also use this title to make the file retrievable with search. Last but not least, it contributes to making your document more accessible and is required if you choose to comply with PDF/UA, a PDF standard focused on accessibility.
Now, we need a way to retrieve the value we set in the main title and the
header. Because the title function is designed to work together with the
document element, calling it with no arguments will just print the title. For
the header, we will need to be more explicit: Because Typst has no way of
knowing that we want to insert the title there, we will need to tell it to do so
manually.
Using context, we can retrieve the contents of any values we have set on
elements before. When we use the context keyword, we can access any property
of any element, including the document element's title property. Its use looks
like this:
#set document(title: [
  A Fluid Dynamic Model
  for Glacier Flow
])

...

#set page(
  header: align(
    right + horizon,
    // Retrieve the document
    // element's title property.
    context document.title,
  ),
  ...
)

#title()

Well done! One notable thing is that we used a set rule within the content
argument of align to turn off justification for the abstract. This does not
affect the remainder of the document even though it was specified after the
first set rule because content blocks scope styling. Anything set within a
content block will only affect the content within that block.
Another tweak could be to remove the duplication between the header and the
title element's argument. Since they share the title, it would be convenient to
store it in a place designed to hold metadata about the document. We would then
need a way to retrieve the title in both places. The document element can help
us with the former: By using it in a set rule, we can store document metadata
like title, description, and keywords.
#set document(title: [A Fluid Dynamic Model for Glacier Flow])
When exporting a PDF, the title set here will appear in the title bar of your PDF reader. Your operating system will also use this title to make the file retrievable with search. Last but not least, it contributes to making your document more accessible and is required if you choose to comply with PDF/UA, a PDF standard focused on accessibility.
Now, we need a way to retrieve the value we set in the main title and the
header. Because the title function is designed to work together with the
document element, calling it with no arguments will just print the title. For
the header, we will need to be more explicit: Because Typst has no way of
knowing that we want to insert the title there, we will need to tell it to do so
manually.
Using context, we can retrieve the contents of any values we have set on
elements before. When we use the context keyword, we can access any property
of any element, including the document element's title property. Its use looks
like this:
#set document(title: [
  A Fluid Dynamic Model
  for Glacier Flow
])

...

#set page(
  header: align(
    right + horizon,
    // Retrieve the document
    // element's title property.
    context document.title,
  ),
  ...
)

#title()

...
First, notice how we called the title function with empty, round parentheses. Because no argument was passed, it defaulted to what we set for the document element above. The distinction between empty round and empty square brackets is important: While empty round brackets show that you are passing nothing, empty square brackets mean that you are passing one argument: an empty content block. If called that way, the title would have no visible content.
Next, take a look at the header. Instead of the title in square parentheses, we used the context keyword to access the document title. This inserted exactly what we set above. The role of context is not limited to accessing properties: With it, you can check if some elements are present in the document, measure the physical dimensions of others, and more. Using context, you can build powerful templates that react to the preferences of the end-user.
Why is the context keyword required to access element properties?
Normally, when we access a variable, we know exactly what its value is going to be:
- The variable could be a constant built into Typst, like
#sym.pi - The variable could be defined by an argument
- The variable could be defined or overwritten in the current scope
However, sometimes, that's not enough. In this chapter of the tutorial, we have inserted a page header with the title. Even though we pass only one piece of content for the header, we may want different pages to have different headers. For example, we may want to print the chapter name or use the page number. When we use context, we can write a single context block that tells Typst to take a look at where it's inserted, look for the last heading, the current page number, or anything else, and go from there. That means that the same context block, inserted on different pages, can produce different output.
For more information, read up on context in its docs after completing this tutorial.
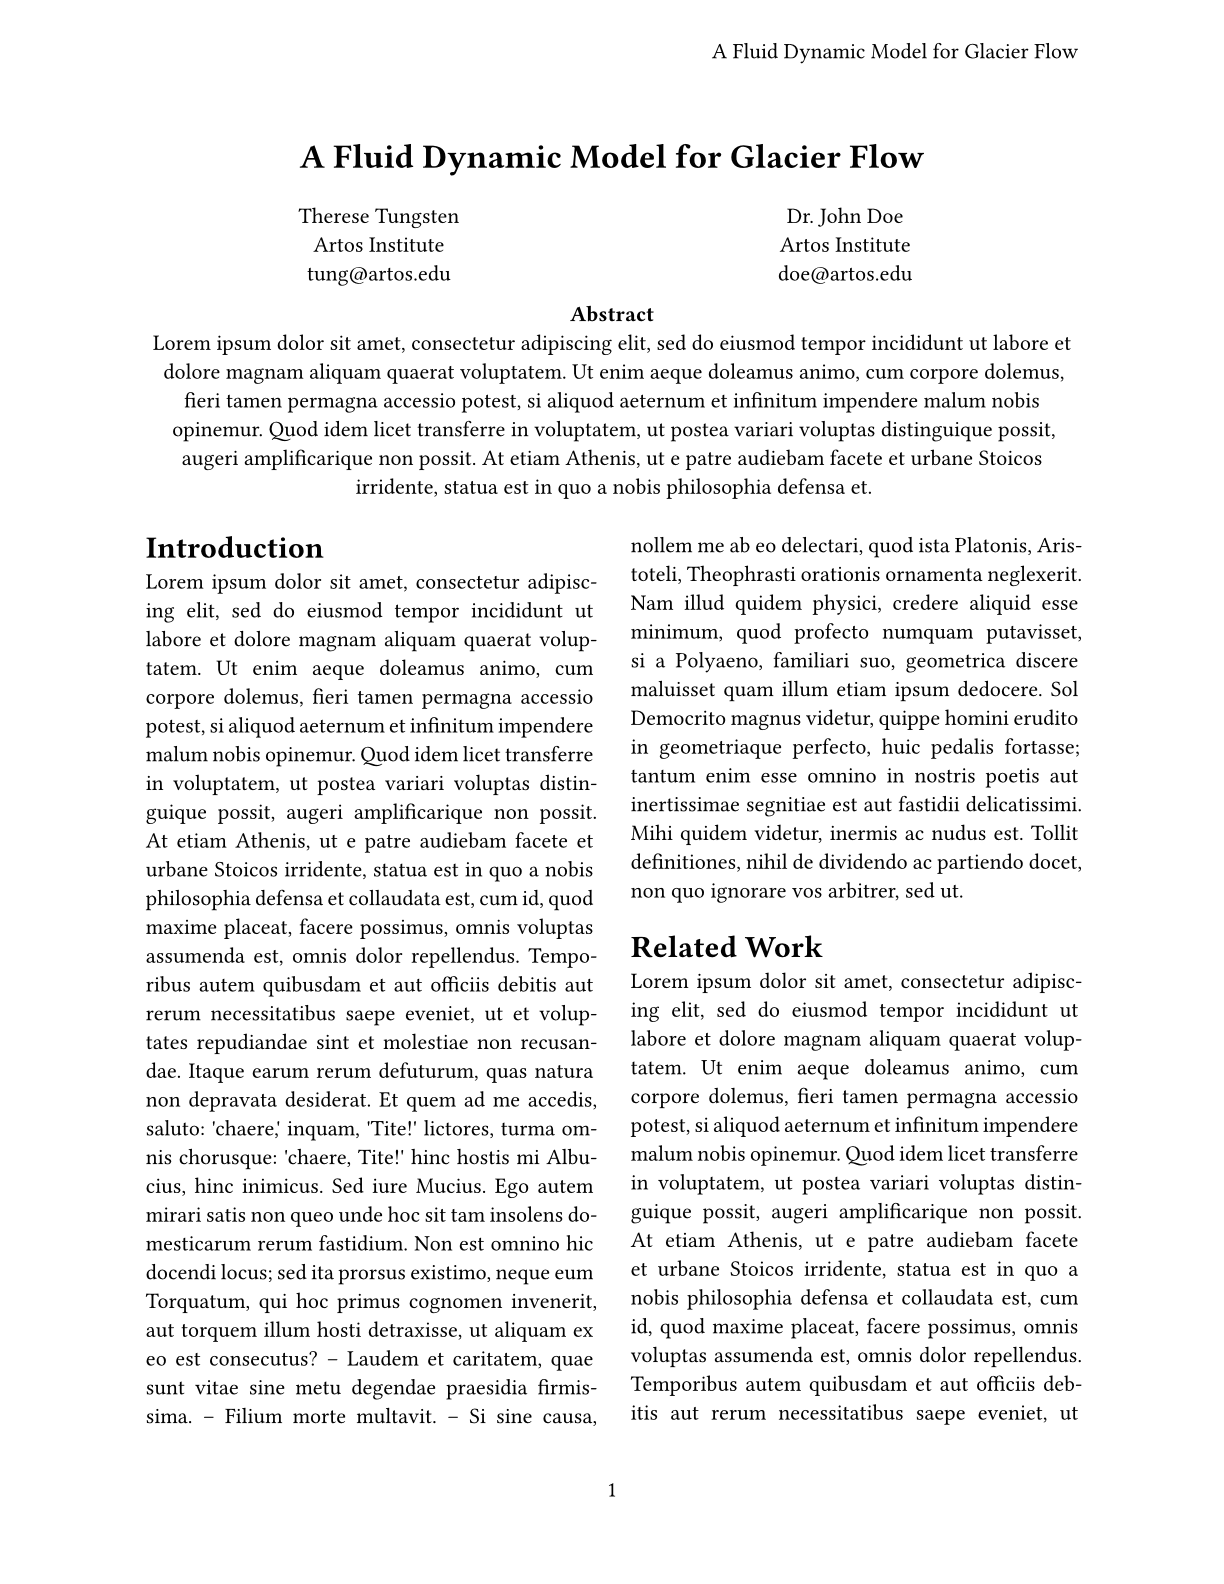
段組みと見出しの追加
上の論文は、残念ながら文字が単調にぎっしり詰まっていて読みにくい見た目をしています。
これを修正するために、見出しを追加し、2段組のレイアウトに変更してみましょう。
幸いなことに、setルールでpageにcolumn引数を追加することで簡単に行えます。
引数リストにcolumns: 2を加えることで、文書全体を2段組みとなります。
しかし、これではタイトルと著者、アブストラクトにも影響が出てしまいます。
それらを1段組みのままに維持するためには、place関数を呼び出して囲みましょう。
place関数は引数として配置とコンテンツを受け取ります。
オプション引数であるscope引数を使えば、現在の段組みとその親(ページ)のどちらに対して配置するかを決めることが可能です。
これらに加えて、もうひとつ設定することがあります。
オプション引数がない場合、placeはそのコンテンツを文書の流れから外し、他のレイアウトに影響を与えることなく、他のコンテンツの上に配置します。
#place(
  top + center,
  rect(fill: black),
)
#lorem(30)
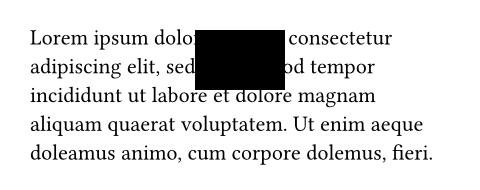
もしここでplaceを使わなければ、黒塗りの長方形は独立した行になるはずですが、
placeを使うと、それに続く数行のテキストの上に重なります。
同様に、テキスト側もこの長方形がないかのように振る舞います。
この動作を変更するには、引数float: trueを渡してください。
これによりplaceでページの上部または下部に配置されたアイテムが、他のコンテンツと重ならないように設定できます。
#set page(
  paper: "us-letter",
  header: align(
    right + horizon,
    context document.title,
  ),
  numbering: "1",
  columns: 2,
)

#place(
  top + center,
  float: true,
  scope: "parent",
  clearance: 2em,
)[
  ...

  #par(justify: false)[
    *Abstract* \
    #lorem(80)
  ]
]

= Introduction
#lorem(300)

= Related Work
#lorem(200)
この例では、place 関数の clearance 引数も使用しています。
これにより、v関数を使用する代わりに、本文との間にスペースを設けています。
また、コンテンツはcenter引数を継承しているため、各パーツごとに行っていた明示的な align(center, ...) 呼び出しも削除できます。
最後に見出しのスタイルの設定をしましょう。
ガイドラインに従うために、見出しは中央揃えにして、小さな大文字を使わなければなりません。
heading関数はそのような設定を提供していないため、独自の見出しshowルールを書く必要があります。
- A show-set rule to make headings center-aligned
- A show-set rule to make headings 13pt large and use the regular weight
- A show rule to wrap the headings in a call to the
smallcapsfunction
#show heading: set align(center)
#show heading: set text(
  size: 13pt,
  weight: "regular",
)
#show heading: smallcaps

...

= Introduction
...

== Motivation
...
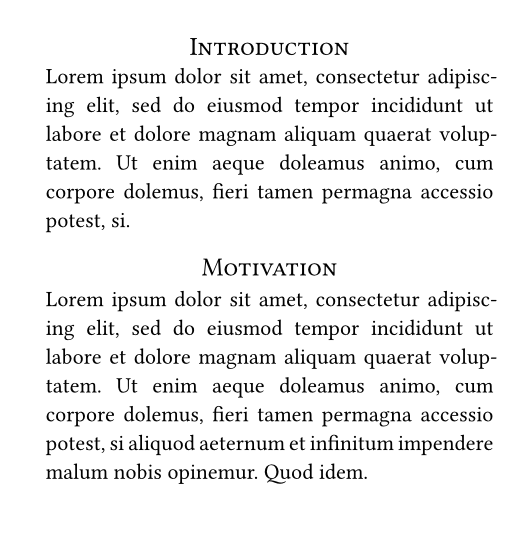
This looks great! We used show rules that apply to all headings. In the final
show rule, we applied the smallcaps function to the complete heading. As we
will see in the next example, we can also provide a custom rule to completely
override the default look of headings.
The only remaining problem is that all headings look the same now. The
"Motivation" and "Problem Statement" subsections ought to be italic run-in
headers, but right now, they look indistinguishable from the section headings.
We can fix that by using a where selector on our show rule: This is a
method we can call on headings (and other elements) that
allows us to filter them by their properties. We can use it to differentiate
between section and subsection headings:
#show heading.where(level: 1): set align(center)
#show heading.where(level: 1): set text(size: 13pt, weight: "regular")
#show heading.where(level: 1): smallcaps

#show heading.where(level: 2): set text(
  size: 11pt,
  weight: "regular",
  style: "italic",
)
#show heading.where(level: 2): it => {
  it.body + [.]
}
In this example, we first scope our previous rules to first-level headings by
using .where(level: 1) to make the selector more specific. Then, we add a
show-set rule for the second heading level. Finally, we need a show rule with a
custom function: Headings enclose their contents with a block by default. This
has the effect that the heading gets its own line. However, we want it to run
into the text, so we need to provide our own show rule to get rid of this block.
We provide the rule with a function that takes the heading as a parameter.
This parameter is conventionally called it, but can have another name. The
parameter can be used as content and will just display the whole default
heading. Alternatively, when we want to build our own heading instead, we can
use its fields like body, numbering, and level to compose a custom look.
Here, we are just printing the body of the heading with a trailing dot and leave
out the block that the built-in show rule produces. Note that this heading will
no longer react to set rules for heading numbering and similar because we did
not explicitly use it.numbering in the show rule. If you are writing show
rules like this and want the document to remain customizable, you will need to
take these fields into account.
これは素晴らしい!
第1レベルと第2レベルの見出しにそれぞれ選択的に適用される2つのshowルールを書きました。
whereセレクタを使用して、見出しをレベルでフィルタリングしました。
そして、サブセクションの見出しを本文と改行せずにレンダリングしました。
また、サブセクションの見出しの最後にピリオドを自動的に追加してます。
ここで、学会のスタイルガイドを確認しましょう。
- フォントは11ptのセリフ体 ✓
- タイトルは17ptで太字 ✓
- アブストラクトは1段組みで本文は2段組み ✓
- アブストラクトは中央揃え ✓
- 本文は両端揃え ✓
- 第1レベルのセクションの見出しは13ptで中央に配置し、小さな大文字で表示 ✓
- 第2レベルの見出しは斜体で、本文と同じ大きさ ✓
- ページはUSレターサイズとし、下中央にページ番号を付け、各ページの右上に論文のタイトルを記載 ✓
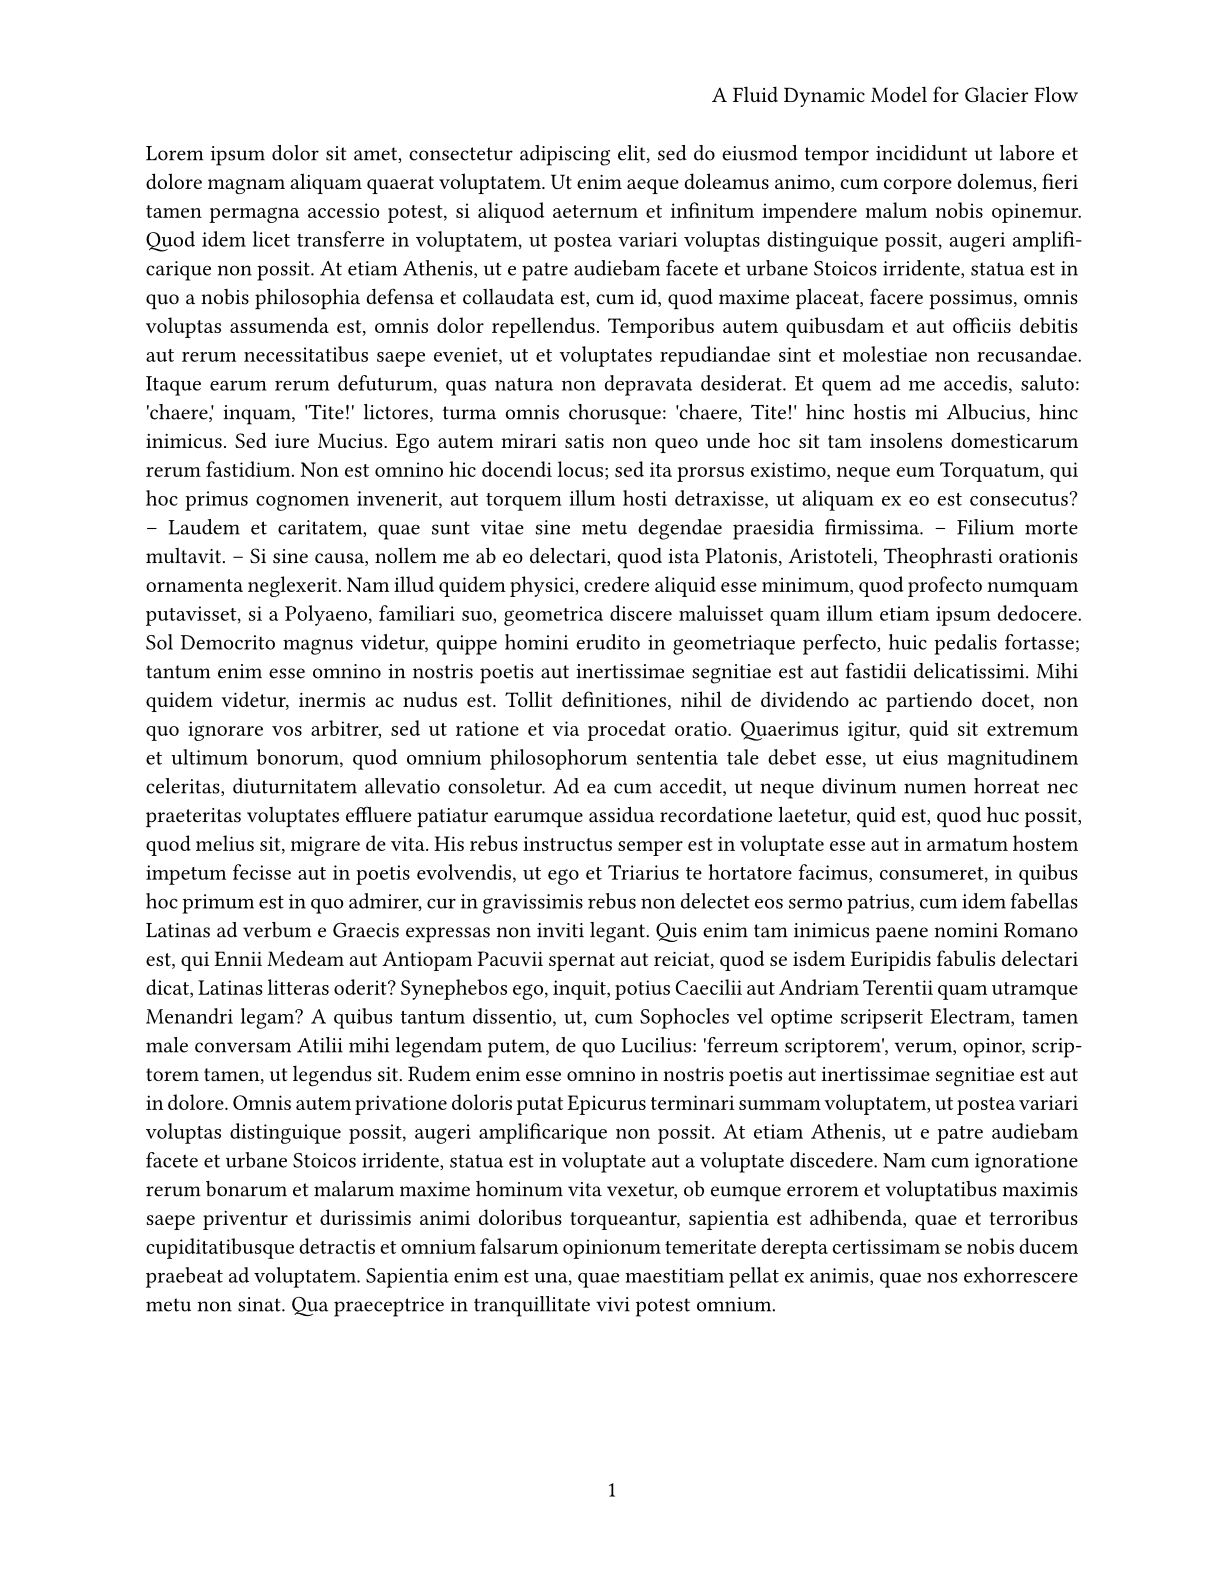
これで、全てのスタイルに準拠し、論文を学会に提出できます!完成した論文は次のようになっています。 <img src="3-advanced-paper.png" alt="The finished paper" style="box-shadow: 0 4px 12px rgb(89 85 101 / 20%); width: 500px; max-width: 100%; display: block; margin: 24px auto;"
まとめ
このセクションでは、ヘッダーとフッターの作成方法、関数とスコープを使用してローカルにスタイルをオーバーライドする方法、grid関数を使用してより複雑なレイアウトを作成する方法、個々の関数と文書全体のshowルールを記述する方法を学びました。
You also learned how to access element properties with context.
また、whereセレクタを使用して、見出しをそのレベルによってフィルタリングする方法も学びました。
結果として論文は大成功でした! あなたはその学会にて同じ志を持つ研究者にたくさん出会い、来年同じ学会で発表したいプロジェクトを計画しています。 その際に、同じスタイルガイドを使って新しい論文を書く必要があるため、あなたやあなたのチームのために、時間を節約できるテンプレートを作りたいと思うのではないでしょうか?
次のセクションでは、複数の文書で再利用できるテンプレートの作成方法を学びます。 これはより高度なトピックですので、今すぐには手が出せないという方は、後ほどお気軽にお越しください。